SQL Server를 새로 설치했거나 사고로 DB가 날라갔을 때 백업해 놓은 데이터베이스 파일이 있으면 데이터를 복원할 수 있다.
1. DB 삭제
이 글에선 실습을 위해 복원할 TEST_DB를 삭제하고 진행한다.
2. 데이터베이스 복원
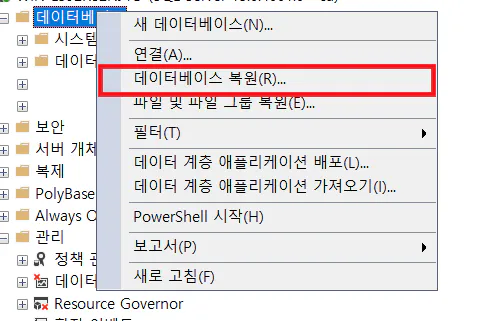
SSMS에서 데이터베이스 폴더를 우클릭 > 데이터베이스 복원을 클릭한다.
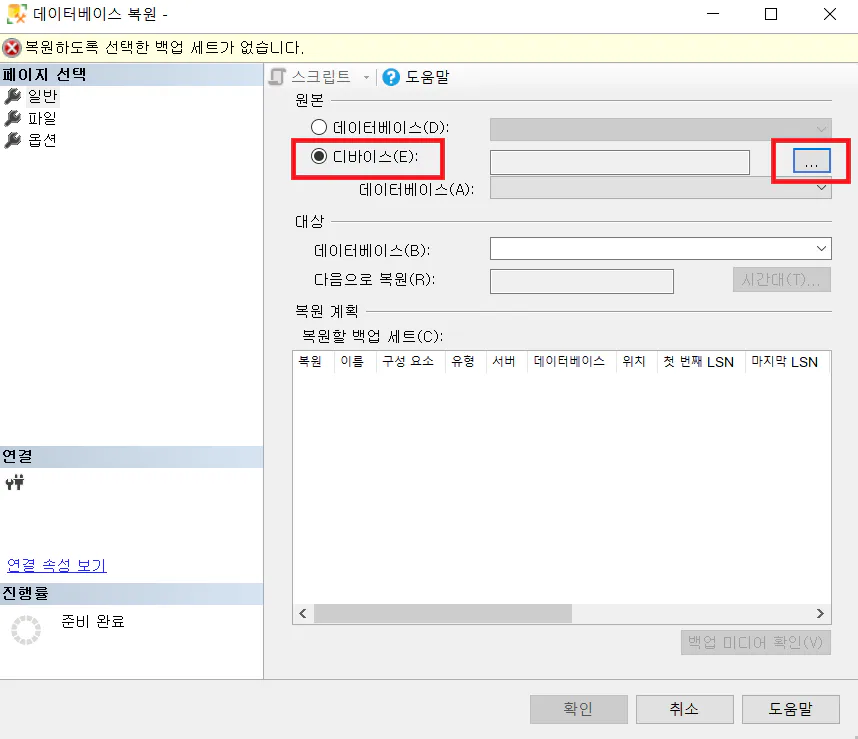
디바이스 버튼을 체크하고 … 아이콘을 누른다.
3. 백업 디바이스 선택
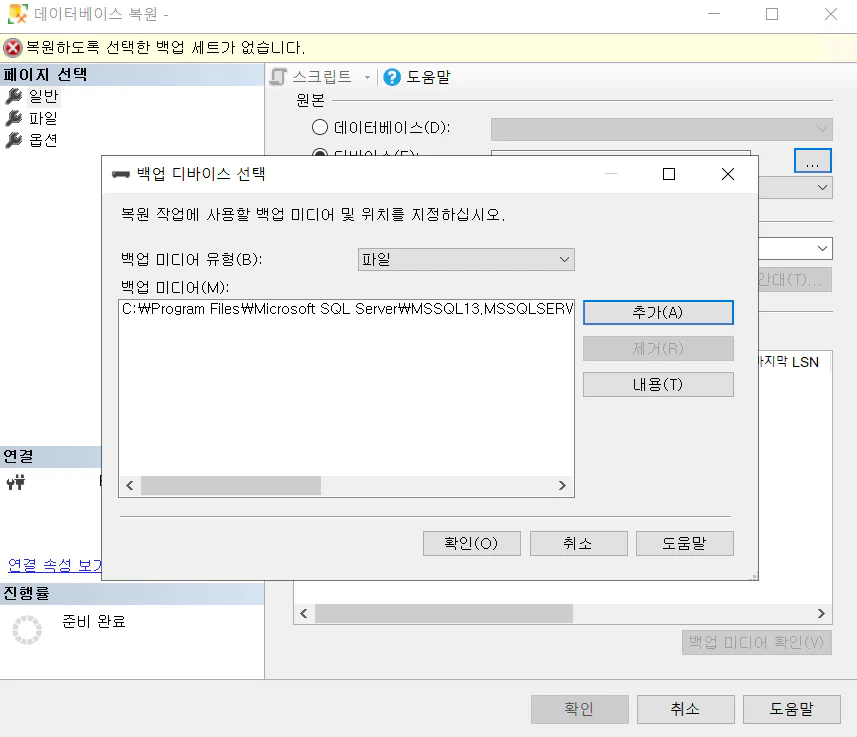
백업 디바이스 선택 창이 나오면 추가를 누른다.

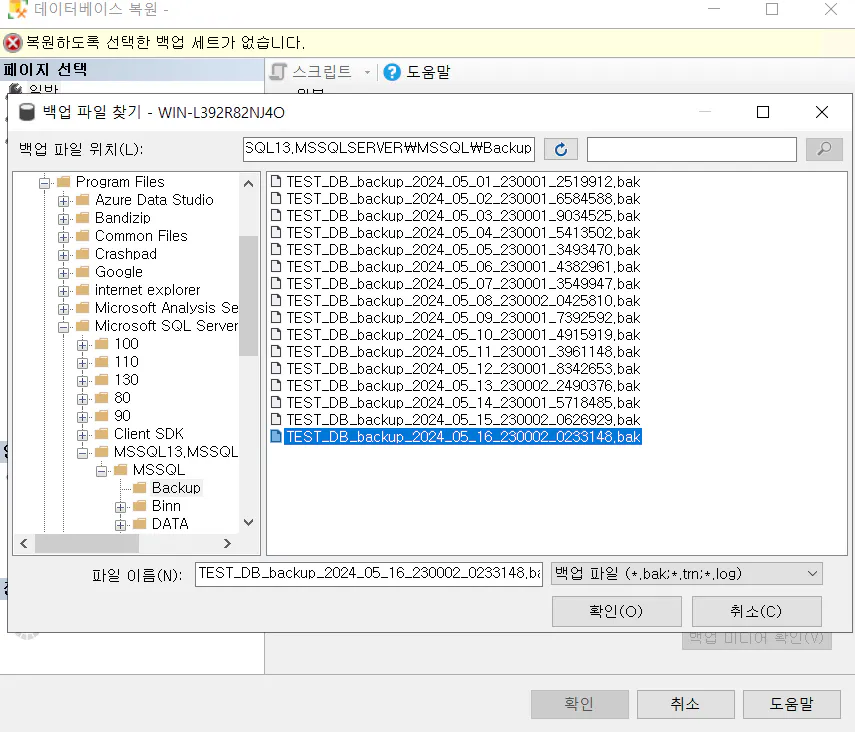
백업 파일이 위치하는 경로에서 백업할 파일을 선택하고 확인을 누른다.
이어서 확인을 누른다.
4. 복원 시작
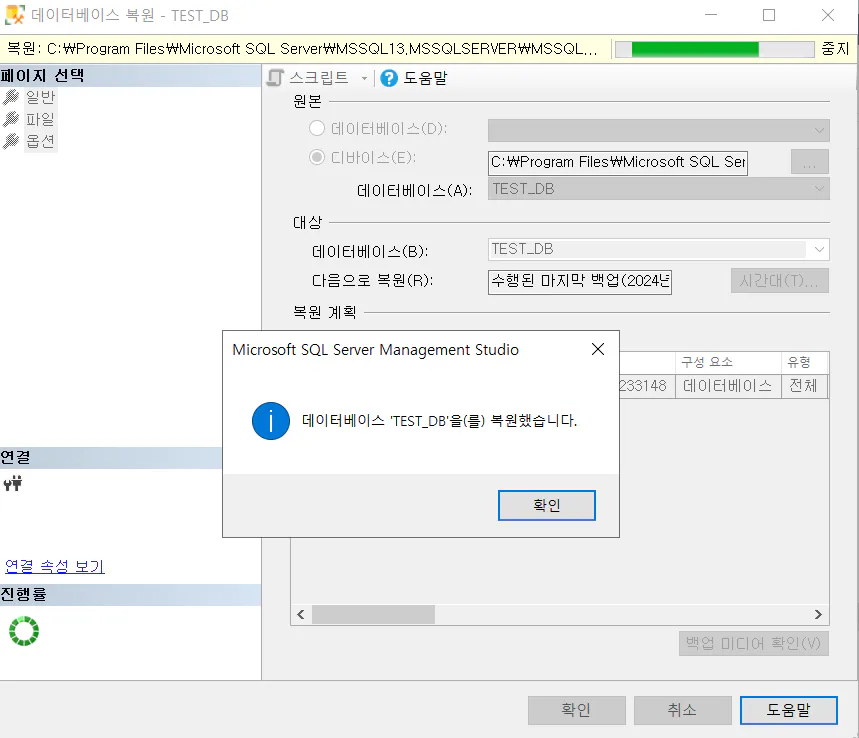
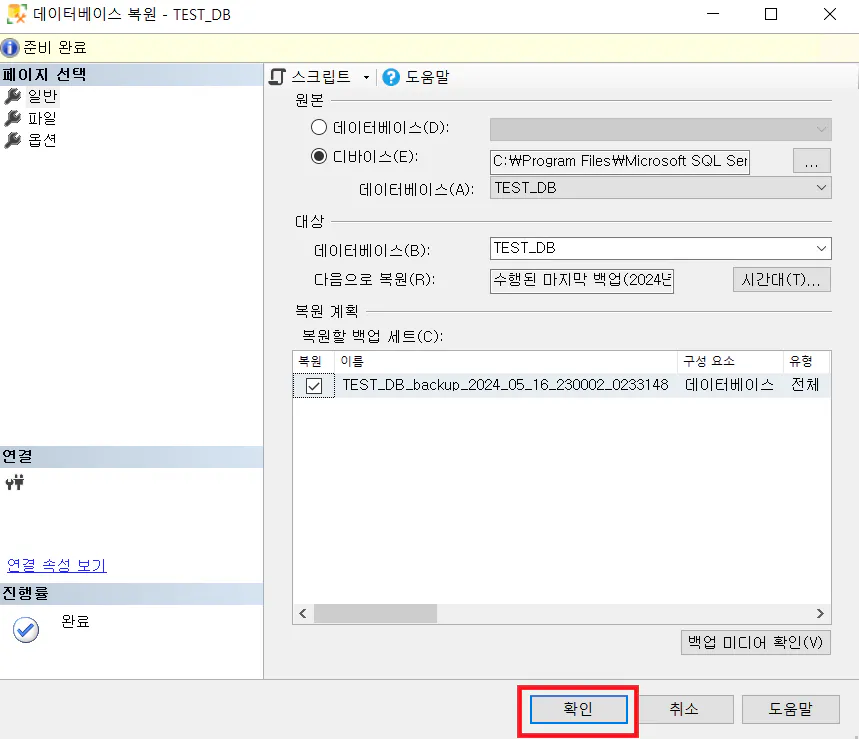
복원 준비가 완료되면 확인을 누른다.
5. 복원 완료
복원이 완료된다.
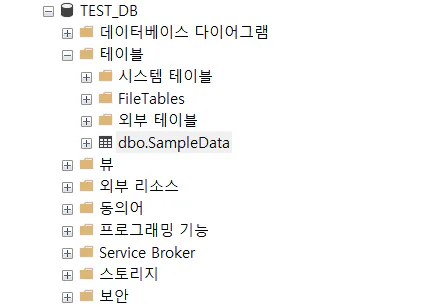
복원된 데이터베이스를 체크해본다.